Getting Started on GTA RP
So you wanna tell your GTA character’s story on TRP? You’ve chosen the right place! TRP has been the home of serious roleplaying with a large community telling stories since 2015. Our servers are allowlisted with the application wait time averaging around a week - give or take, your application could take a day, up to a week or more depending on how quick our volunteer-based team are able to process applications.
Brush up on the TRP GTA Server and TRP Community Rules and in time, you’ll be able to use the server to tell your many characters stories. You can stay up-to-date with server announcements and changes on both #gta-announcements and #gta-devlog sections on the TRP Discord. Have a great time!
Get allowlisted first
Before you can get onto TRP servers, you’ll need to first put in an allowlist application. For our GTA server, we’re looking for your answers to these two questions in your application:
- What is it that made you interested in roleplay and why?
- Why do you want to roleplay on TRP and what can you bring to our community?
In Question 1, we’re looking to see what itched your scratch for roleplay, what got you started to telling stories and why you like to roleplay. In Question 2, let us know why you want to come to roleplay with FiveM on TRP and what specialities or contributions you can bring to the wider TRP community. Whilst we have a large community-base that loves to do content creating on TRP, focus more on other attributes as well as avoid adding a character bio or using AI to write your application. They are manually reviewed by TRP staff. We’re more invested in what interests you to roleplay and what brings you to TRP as well as what you can offer to the community as a fellow community member.
Regardless of your application outcome, you will receive an email notification either let you know if your application was approved or if it was denied.
Allowlist application approved, what next
Before you connect to servers, it’s a good idea to grasp the basic controls and features of the TRP server so you’re not having to figure it out while in a scene on the server. You’ll be able to see our dedicated wiki page on [The Basics] on all things controls, default keybinds and everything in between.
Go to the #steam-64-ids channel and enter your Steam ID into the channel only if your application has been approved.
Allowlist application denied, what do I do
Applications are manually processed by our TRP staff and denied application feedback is sent through email to the address that our system received during your application process. You'll be given feedback on how you can improve the next application that you can submit through our Application form.
As a thumb of advice, avoid using the fields to enter a character bio as we're looking to hear about your roleplayng experience and what you think you can bring to our GTA server on TRP.
How to connect to the GTA server
Make sure that your Steam account connected with your allowlist application is logged into the Steam desktop app and left open in the background before you open up FiveM. Then use F8 console menu and use the connect TRP_CONNECT_ADDRESS command, replacing TRP_CONNECT_ADDRESS with the connect address found in #gta-guides on the TRP Discord.
Creating your first character
How exciting! Your allowlist application for the GTA server has been approved, you’ve taken a look at our GTA Server and Community Rules and caught up with [the basics]. Now it’s onto logging into the server and starting off your first character. You’ll be presented with the character select screen with one generic character on your screen to start off your first character.
Left-click onto the generic character on your select screen and then select Create from the menu that appears on screen. This will take you to the character skin creator menu. Work through the sliders as well as tabs to customise what you’d like your character to look like. Click onto the eye icon to get a preview of what each item would look like before you move the sliders or double-click onto the number if you know exactly what you’re looking for.
When you’ve settled on a shirt and jacket, check that the Arms you select doesn’t clip through (holes in your shirt/jacket) your clothing before you click onto Finish creation.

Default keybinds, VOIP and chat commands
TIP: Most keybinds are rebindable in Settings > FiveM > Keybinds
Player
[F1] - Bring up/put away your phone
- You must have a phone in your character's inventory.
[F2] - Open your tablet (the TRP UI - shows character skills and organizations/jobs)
[I] - Open inventory
[Z] - Push to talk
[B] - Point/Stop pointing
[X] - Hands up/hands down
[E] - Interact
- This works with talking to locals (NPCs), looking at dropped bags, interacting with select furniture/objects and access menus
[R] - Punch
[M] - Flop (Ragdoll)
[Y] - Carry a player over your shoulder
[Q] - Take cover
[L CTRL] - Crouch
[T] - Open chat box
- The primary function is to run command such as /me, /scene and /report.
[TAB] + [LeftMouse button] - Interact with players and cash registers
- On players, you can carry the person you're looking at
- At cash registers, you will be able to access the til. Make sure to look at the right til and click on the object
[L ALT] - Broadcast to civilian radio
- Also the key to broadcast on police radio (if on duty PD/Medical character)
[HOME] - Bring up radio and dispatch (if on duty PD/Medical character)
[END] - Toggle GUI at the bottom left
- The GUI contains different colored rings - your health (red), armor (green), hunger (yellow) and hydration (blue). Stamina will fill up on top of your health ring.
[G] - Player menu
- This houses the character, interactions, vehicle, housing, inventory options and link to Tebex (the TRP logo).
[Z] - Adjust VOIP levels
- Indicator of your mic is at the bottom-left. White mic: Whispering / Green mic: Normal / Red: Yelling
[DEL] - Cancel progress bar
- Where possible, this will stop you from hacking, robbing, crafting, eating
[F3] - Job menu (only for government characters)
[F8] - FiveM console
[F9] - Housing/Housing garage menu
- At a front door of a player property, you can knock on the door, access the garage (if you have a key or broke into the property) and valet a vehicle.
- While inside a property, you can unlock/lock the door and access the furniture menu.
Vehicle Keybinds
[F] - Enter/exit vehicle
[B] - Seatbelt
- You can still fall out of the vehicle if you put your seatbelt on and accidentally exit the vehicle
[H] - Climb into/out of the vehicle trunk
[H] - As the driver, toggle high beam and lights
[E] - Horn (if applicable)
[K] - Start/stop the engine
[U] - Lock/unlock vehicle doors
[C] - Look behind yourself
[Y] - Open trunk from outside of vehicle
[I] - Open glove box
[J] - Open/Close garage doors (if on duty PD/Med characters)
[E] - Cycle emergency lights
[9] - Cycle emergency sirens
[0] - Play/stop sound of sirens
Emote Keybinds
/ebind (emotename) Will bind an emote to your emote list. /eremove (emotename) Will remove an emote from your list. /eclear ( Will clear emotes incase you get stuck)
[F5] - Cycle to the previous emote in your binded emotes
[F6] - Play emote in current position of binded emotes
[F7] - Next emote in binded emotes
[F9] - Cancel emote
F9 will also clear the current emote in case you get stuck, but a single button press instead of command line. Holding F6 Will cancel your current emote. ( Progress bar top of the screen )
If you want to swap an emote around in your list using the command /ebind emotename (number) will swap it and the number's spots.
For example if smoking is 1, idle6 is 2 and welcome is 3
using “/ebind welcome 1” will swap Smoking and welcome on your list.
Your emote list will also save per character and is persistent through a server restart.
Chat commands
General
/me - Used for describing what your character is doing (actions that can't be seen) and how they're reacting (emotions can be tough without a mechanic)
- Example: /me picks up glasses on the ground and /me looks nervous
- Also used for medical RP when you (the player) are speaking as “the local doctor”
/mu - An accessibility tool to allow speech for mute characters
- /mu w – text presents a text box above the character labeled as whisper
- /mu s – say
- /mu t – talk
- /mu sh – shout
- /mu y – yell
/e [emote] – Initiate emote.
- Example: /e think3
/e clear – Cancel current emote.
/scene [color] [scene text] – Scenes can help leave items that you wouldn't be able to see physically, describing the state of an area or object
- Use the E key to place the scene
- Example: /scene green Smashed window with a smile face drawn in marker on the remainder of glass - This would create a scene with green text
/scenedel [distance] – Cancel current emote.
/rolldice [sides] [count] - Random dice roll appears on your character
- Replace [sides] with the amount of sided dice. For example: d20 would be /rolldice 20 1
- Replace [count] with how many dice to roll. For example: roll 3 d6 would be /rolldice 6 3
Crime
/hack - Hack a nearby register or ATM to earn cash and XP (datapad required)
/drill - Drill a bank door
/pry - Pry a safe
Clothing
/hat - Put on/take off hat
/shoes - Put on/take off shoes
/glasses - Put on/take off glasses
/vest - Put on/take off vest
/chain - Put on/take off chain
System
/colorblind_hud - Toggle color blind for the HUD
- For accessibility, we have a color blind mode for the HUD at the bottom left
- Using this command can help fix any icons that look out of shape in the HUD
/fixnui - Helps with UI lag such as inventory not loading
/fixvoip - When the server VOIP sounds like it's about to give up, try this command to reset the VOIP on your end
/position - Only needed if TRP staff request this information
/report - Report rulebreak in your radius. This tags all nearby people and adds them to your report
- Example: /report vdm and then shot
- You need to follow up with a web ticket through the report page
Emotes
/ebind [emote] - Binds the [emote] to your binded emotes list
/eclear - Clears all emotes in your binded emotes list
/eremove [emote] - Remove specific emote from binded emotes list
Scenes
Colors
~r~ - Red text
~g~ - Green text
~b~ - Blue text
~y~ - Yellow text
~o~ - Orange text
~p~ - Purple text
~q~ - Pink text
~b~ - Black text
Formatting
~n~ - A line break (basically hitting enter but in the scene box)
~h~ - Bold text
Learning The HUD
In the GTA server, your health, armor, hunger, hydration, voip level and stamina is all indicated in compass at the bottom left of the screen with different colored rings. The first color listed in this list below is the primary color and the color blind hud enabled mode color is the secondary color.
- Red / Pale magenta: Your character’s health
- Green / Orange: Your character’s armor (only when equipped, and if it isn’t broken)
- Orange / Pink: Your character’s hunger levels
- Blue / Purple: Your character’s hydration levels
- Translucent White: As you start to use stamina, the health ring will start to fill with a translucent white when you use up stamina, as you relax and calm down, more stamina you get back.
- Mic icon: Depending on the color, indicating how loud you’re talking to those within your radius.
If you are color blind, we have a command that you can use to enable the color blind feature in our UI - /colorblind_hud.
Our server uses built-in GTA 5 mumble voice servers. You’ll just need to go to Settings > Voice Chat and make sure that Voice chat is toggled/switched on as this is what TRP servers use. Adjust the voice range by pressing your [Adjust VOIP levels] keybind:
- White: Whispering range
- Green: Normal range
- Red: Yelling range
- Purple: Megaphone range
- You need a purchase a megaphone (basically have one in your inventory) for this range to be available. Use it on your hotbar.
/me and /mu usage
The use of /me and /mu will depend on the needed and appropriate use case. Below explains both commands and also provides an example when you can still access the chat (default: T) or using F8 console if you’re unable to access the chat box at bottom right of your screen.
/me
The use of /me is helpful when you’re explaining injuries of your character to Medical staff or Law enforcement officers. When you are incapacitated and unable to use the chat box (default: T), you can use F8 console and use /me without the / in the command itself. Example:
- Able to use chat: /me tripped over, scraped shoulder and legs. 2x gun shots lodged in shoulder
- Using F8 command: me punched in face, nose bleeding heavily. Through and through stab wound
The /me command is also used when your character is unable to speak and they’re injured, the local doctor would be you, speaking through /me as if the invisible person is speaking in the room with you. The /me can also be used to describe actions and reactions from your character’s perspective. As an example, you could squint at other players by describing it through /me or have common thoughts to your character’s self. It should go without saying, /me should not be used to force an outcome, story or situation as part of our Community Rules.
/mu
This command should be used when your character is rendered under to speak vocally - when your character sustained injuries or by character development, they are mute. You are able to use the /mu command to through text-speak using indicators in the command to whisper, normal range and yell (adjusting the range where characters can see you sign). The available ranges:
- W: Whispers
- S: Says
- Y: Yells
- Sh: Shouts
- T: Talks
Example:
- Able to use chat: /mu w It was me, I accidentally spilled my drink over that computer.
- Using F8 command: mu y It wasn’t me, I blame that dog over there for spilling the drink.

Getting your first job
Landing your first job is the start of your character's journey of making money to survive, pay the bills and save up for a treat. We have businesses scattered across San Andreas that are player run and managed to drive and enhance your roleplay experience. At most businesses, they may be looking for a new hire. Go ahead and ask, start the RP and your character could be the next employee of the month!
Garbage Collection
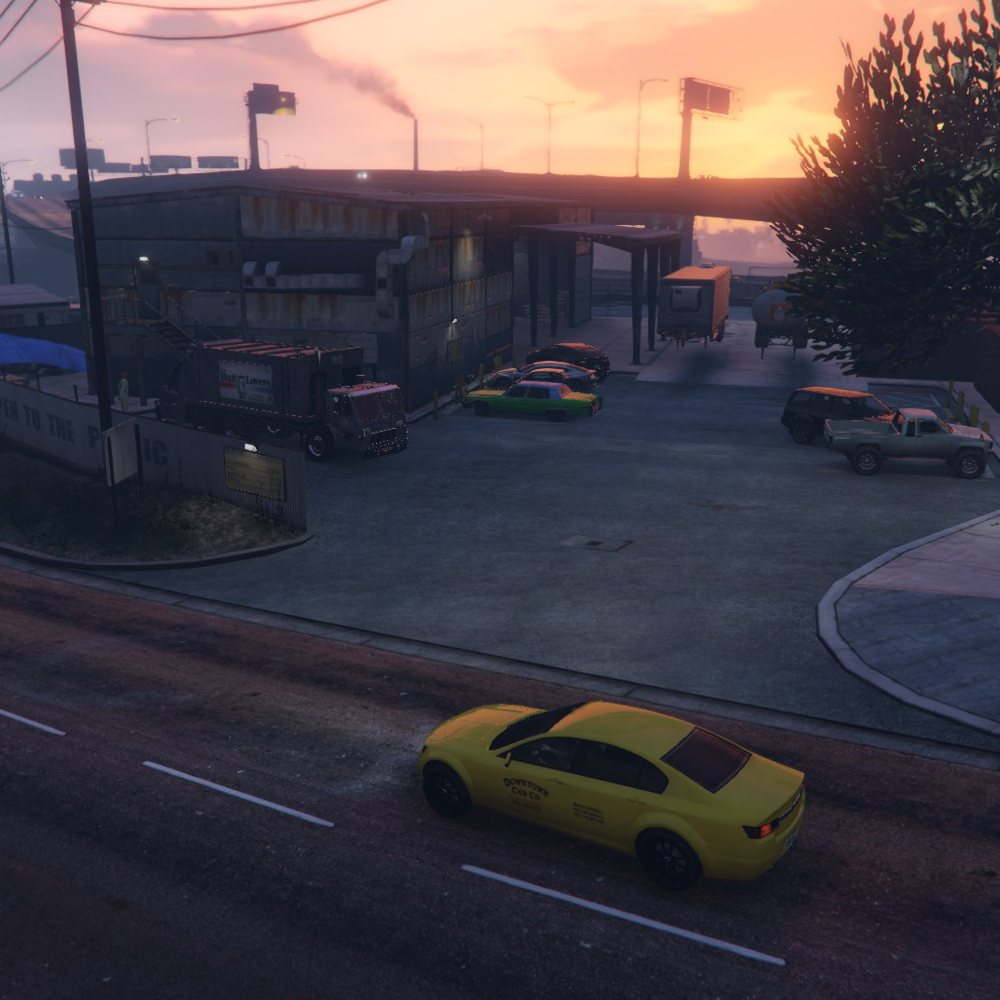
Join forces with fellow Garbage Collectors to get the job done in record time, or keep an eye out for hidden treasures that might just make your day! So, suit up, hop in your truck, and hit the streets. The city is counting on you to keep it clean, green, and pristine!
To get started:
- Get the Job: Head to the courthouse and talk to the front desk to get the “Garbage” job. You only need to do this once!
- Clocking On: Use your “F2” Menu to clock select the Garbage Job and “Clock on” on the job page.
- Find the Depot: Go to the Garbage truck icon on your map.
- Form a Group: Open the “Groups” app on your phone, select the “legal” tab, and invite your friends to form your dream team!
- Start the Job: Use the app to start the job, then talk to the NPC to get your truck and uniform.
- Collect Trash: Head to the marked area on your map and start collecting trash.
- Empty the Truck: Once all the trash is collected, go back to the depot and empty the truck.
- Repeat: Use the groups app to start another run, or return your truck back to the NPC and clock off if you've had enough!
Taxi
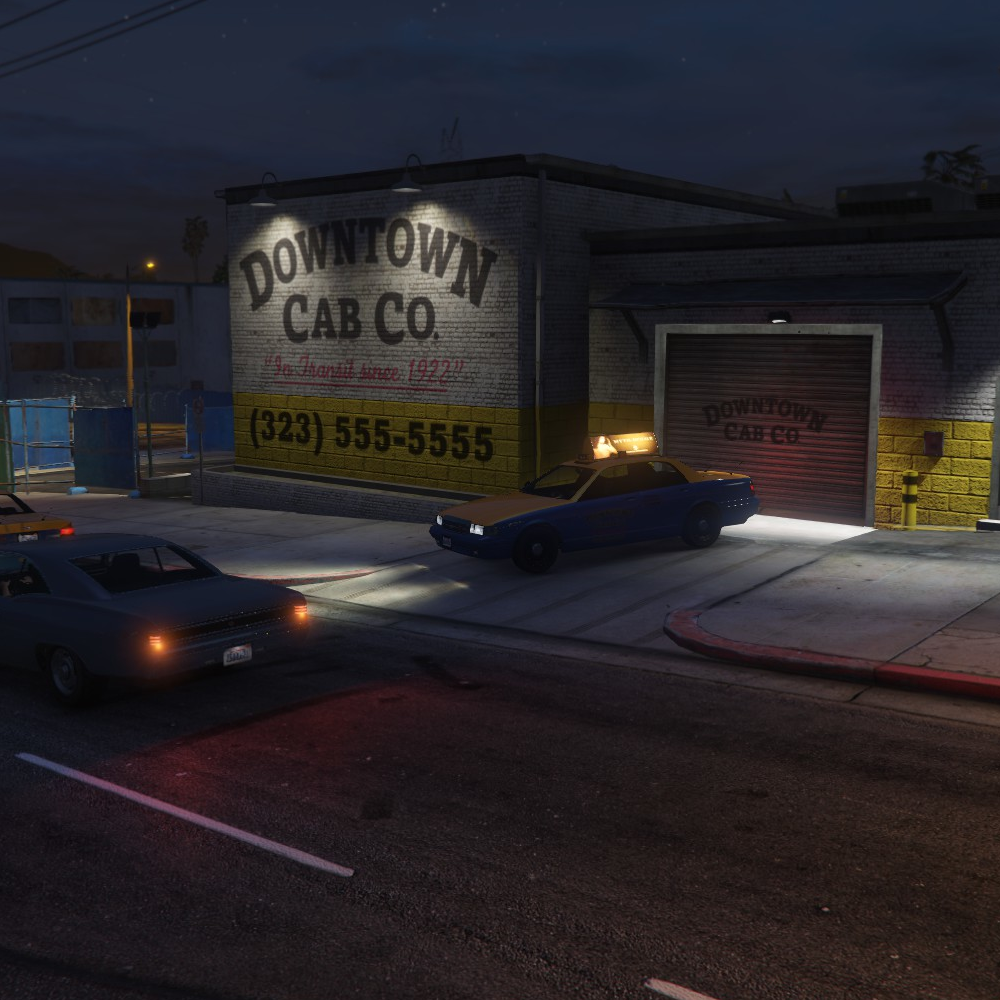
So, fire up the engine, hop behind the wheel, and get ready to drive. The people are counting on YOU to get them where they need to go. Drive fast enough and they might just make it more worth your while, or complete enough trips and gain access to even faster vehicles! Clock in using your “F2 Menu” and get started, it’s time to leave your (tire) mark over Los Santos!
To get started:
- Get the Job: Head to the courthouse and talk to the front desk to get the “Taxi Driver” job. You only need to do this once!
- Clocking On: Use your “F2” Menu to clock select the Taxi Job and “Clock on” on the job page.
- Find the Depot: Head to the taxi icon on your map, this will be next to the diamond casino.
- Grab your taxi: Talk to the NPC inside the building and rent your taxi.
- Get Clients: Use the “F2 Menu” again in the taxi job to view the map of available rides. You can toggle on the price meter and listen out for phone calls from players needing a ride.
- Returning: Had enough? Park the taxi back where it was rented from and talk to the NPC again to return the keys!
Delivery
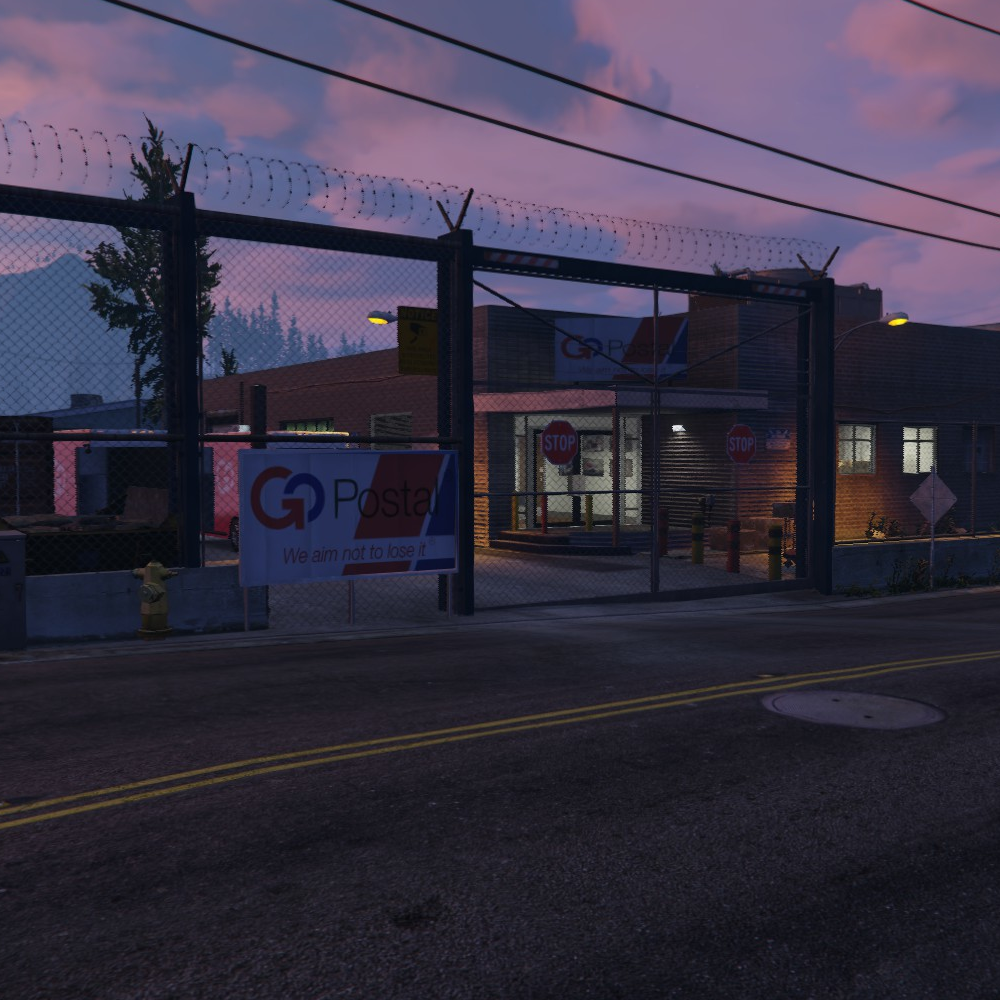
Whether you're delivering important legal documents, a priceless piece of art, or delivering someone their more 'discrete' purchase, it's up to you to get them to where they need to go, and hopefully still in one piece! Start your exciting career at Go-Postal today!
To get started:
- Getting the Job: Head to the Courthouse and talk to the front desk to get the “Delivery” job. You only need to do this once!
- Clocking On: Use your 'F2 Menu' to select the Delivery Job and “Clock on” on the job page.
- Finding the Depot: Head to the Go-Postal Building in Paleto next to the firehouse and police station. It will be a blue icon.
- Getting Your Truck: Interact with the NPC inside the building to put on the uniform and rent your truck. The truck will spawn around the east side of the building.
- Getting Packages: Drive your truck to the entrance, open the back doors, and head inside the building to the storage room to collect a package. Place the package in your truck. Make sure to shut your doors before driving off.
- Making Deliveries: Go to the waypoint on the map to drop off your package. Make sure to open and re-shut the back doors.
- Repeat or End Shift: If you’ve finished your shift, drive back to the Go-Postal, enter the gates, and use your G-Menu while in the vehicle to select the Go-Postal option to return the vehicle. Talk to the NPC to collect your earnings. If you want to continue working, park your truck, collect your earnings from the NPC, and start collecting more packages.
Mechanic
Fishing
Allowlisted careers
Police
Add description
Medical

Getting the job: This is an allowlisted career, meaning you’ll need to apply in-character to get the process going and find out more about the different, exciting roles!
Law/DOJ
Add description