Getting Started on RedM RP
Welcome to the TRP RedM roleplay server! Please take a moment to look at the guide, if you have any questions, feel free to ask in our community Discord via the #contact-support channel under the WELCOME category! We have an active Development team who release new content consistently and communicate directly to the community via the Discord channels listed below.
Be sure to read the #rdr-announcements and #rdr-devlog sections on the Discord to stay up to date. Have a great time!
Allowlisting:
First and foremost you must apply to be able to join our RedM server. Applications take two to four weeks to be processed. During the waiting period, you must familiarize yourself with the ruleset as all servers use varied guidelines for RedM Roleplay. Once accepted, make sure you are in the Discord to receive your role. If you did not receive it from the bot then please post your Steam 64ID in the #steam-64-ids channel which should be a 17 digit number starting with 76561198#########. If you have trouble finding it, you can follow this guide to find your Steam 64ID. The direct connect to the server is located in the #rdr-guides channel under the RED DEAD category on the TRP discord. Optionally, you can search “TRP” using the search functionality in RedM to gain access to the server. Let the stories begin!
The Lore of Our Server:
RDR on TRP is a Rockstar lore-friendly server set in the year 1897. This means that any lore revolving around the world created by Rockstar is relevant, so long as it adheres to our community and server rules, specifically:
- Extreme Violence: OOC consent must be obtained through Discord between all parties before torture/mutilation RP. Descriptions (verbal or /me) cannot be overly descriptive or gruesome.
- Hanging and scalping are not allowed.
- Diagnosis and treatment of psychiatric conditions is not allowed.
- Limited exceptions apply to characters specifically licensed, trained, and approved by the Chief of Medicine/Director of Medical Services.
- Inquiries regarding medical licensing and training can be directed to the Chief of Medicine/Director of Medical Services (first step on your journey will be to discover contact information IC on server).
- Prohibited Topics: Roleplay and references to the following topics, both verbal and written, are absolutely not permitted by TRP or allowed on any of its servers, Discord, or other hosted services and may result in a permanent community ban:
- Racism, hate speech, slurs, or portrayals of hate crimes
- Misogyny or sexism
- Suicide or self-harm
- Characters under 18
- Pregnancy, abortion, or miscarriage RP
- Erotic Roleplay (ERP); especially anything actually or inferred to be non-consensual
- Slavery RP
SR 4. Character conduct and server aesthetic is Lore Friendly and Authentic.
- Our expectation is that at all times, players are mindful of game and community rules, the lore and setting in which their character exists (RDR2 in 1897), and their impact on the RP happening around them.
SR 5. Players must play original characters.
- Players may not play a character affiliated with an RDR2 organization, location, or character with the intention of receiving an in-game benefit (e.g., playing a character with the last name Braithwaite does not entitle the character to Braithwaite manor without purchase).
- Characters who were played on other servers are blank slates on TRP servers.
- Characters cannot be named after real world public figures, historical or modern.
- See also SR 9: Special Characters.
Some examples of relevant facts to Rockstar lore, that in turn, are relevant to our server:
- The President of the United States is President Alfred MacAlister
- Ambarino, New Hanover, New Austin, Lemoyne, and West Elizabeth are each their own States, all recognized federally under the United States government.
Creating Your First Character:
Before entering the server, you will be required to create a new character. To begin, select New Character on the left hand side of the booklet on the login page. This will prompt you to choose a First and Last name for your character to go by, then select Confirm. You will now see your characters name on the right hand side of the book under Choose Your Character. Select your character's name, and then click Connect in order to log in. You can create up to 10 characters at a time before you will need to begin deleting characters to create new ones by selecting the trash can icon beside the character you wish to delete. If you decide to change your characters name after you've created them, you can do so at the City Hall in St. Denis.
Once loaded into the creator, press the left or right arrow to select the figure you prefer. To note, certain clothing options are only available for certain figures. Examples include corsets, skirts, & hair accessories. Follow on-screen directions to make changes to your appearance including height, physique, facial features, and hair. Make sure to select an outfit in the clothing section before completing your character. Clothing can be purchased later at tailor shops for a fee.
When you’re happy with your appearance, select Complete. You will be spawned into Saint Denis with $100 and a Map in your inventory. Don’t spend all your money in one place, there will be plenty of opportunities to make money and fulfill your character's needs in the future. Some essentials to start off with is food(found at saloons), weapons(found at gunsmiths), or horses and carts (conveyances and stables). To utilize your map, an important tool for navigation, open up your inventory, [B], and either drag it to your hotbar for quick use, or right-click the item to open. This is also the perfect time to learn more about important keybinds and commands and decide what lifestyles your characters live through our skill mechanics.
How to use the map:
Upon your arrival in Saint Denis, you'll start with a bit of cash and a map in your inventory. This map is a vital tool for navigating the States, highlighting various points of interest.
For convenient access, place the map in your hot bar, utilizing the default 12345 key layout. A popular customization among players is to reassign one of these keys to 'M', creating a quick map access similar to pressing M.
If you're planning a journey, simply double-click on your desired destination on the map. This action sets a route, visible on the map and marked by a guide if you have a compass (available at most general stores). When you're riding a horse or driving a wagon in cinematic mode, they will automatically follow the set path to your marked destination.
Keybinds, VOIP, & Chat Commands:
TIP: All key binds are all rebindable in Settings > Controls > Keyboard & Mouse > Key Mapping
KEYBINDS & PLAYER CONFIGURATION
[B] - Open Inventory
[N] – Push to talk
- (you may edit this keybind for Push to Talk under “Online Gameplay” in Key Mapping to your benefit)
[T] - Open chat-box to use chat commands (/me, /bug)
[L] - Player Menu (Identity, Give Money, Skills, Horse, Assess Self).
- Backspace to close
[J] - Open emote menu
[M] - Adjust VOIP Levels (Whisper, Normal, Yelling)
- (edit keybind for Map under “Common” in Key Mapping to your benefit)
[CAP] / Mouse Scroll Click - Toggle Eagle Eye
[F] - Throw Punch
[R] - Block Punch
[U] - Handsup
[I] - Point
[Q] - Take cover
[Z] - Rag doll
[L ALT] - Will be your main way to interact with the world
[L ALT] + RightMouse button - Chair/bench/bed interaction (Walk up to a chair, bench or bed and hold [L ALT]. The interactable items will pulse and glow if you are able and close enough to interact.)
- Right click on pulsing interactable seats to choose from a variety of interactions.
- Use [BACKSPACE] to leave an interaction.
[L ALT] (while person has hands up, restrained, HANDCUFFED, OR DOWNED) - Search a person's belongings
- Right-click on a pulsing character to search their pockets.
[1-5] - Equip/Use Hotbar items.
[TAB] - Temporarily show Hotbar.
[PAGEUP] - Gives you player UIDs near you which is helpful in player reports
[F8] - Opens the F8 console to observe script errors (for bug reports).
- Type ‘quit’ to safely exit RedM.
HORSE KEYBINDS
[E] - Mount Horse
[E] (while holding right mouse button near horse) - Lead Horse
[G] (while holding right mouse button near horse) - Pet/Calm Horse
[H] - Whistle for Horse
[Ctrl] - Slow down horse
[Ctrl] + [Ctrl(hold)] - Back horse up
[Shift] - Sprint / horse speed up
VOIP
Setting Up VOIP - Easy Steps:
- Open Settings: When you first join the server, press the ESC key and select Settings.
- Audio Settings: In the Settings menu, click on Audio.
- Enable Voice Chat: Make sure Voice Chat Enabled is turned ON.
- Select Output Device: Choose your headphones or speakers as the Output Device.
- Enable Microphone: Turn Microphone Enabled to ON.
- Select Input Device: Choose your microphone as the Input Device.
- Voice Chat Mode: Set Voice Chat Mode to Push to Talk. Avoid using open mic to not disturb others.
- Customize Push to Talk Key:
- Go back to the main Settings menu.
- Choose Controls, then click on Key Mapping.
- Find Push to Talk under Online Gameplay.
- Assign a comfortable key, like a mouse side button (Mouse 4).
Now your VOIP is set up and ready to use!
CHAT COMMANDS
/me [action] - indicates in-character action; displayed on the character's torso.
- EXAMPLE: “/me tips hat”
/hijack - Toggles hijack on/off (off by default)
- On to hijack other players horse/vehicle
- Off to ride with other players without attacking and stealing their horse/carriage
/emotes – List of passive emotes, setting the scene of what your character is doing.
/e [emote name] – Initiate emote.
- EXAMPLE: /e sitground1
/e c – Cancel current emote.
/sentence – checks time left on jail sentence.
/hud – Toggle hud.
F8 “hud” – turn hud back on.
/reticle – Toggles reticle on/off. On to have a reticle show when you aim. Off to have reticle only show for animals and NPCs. Toggle setting will be saved to your RedM client cache, clearing cache will reset setting.
/bug – Opens up in-game bug report system.
/players – Bring up players ID for 5 seconds above their heads. This can help in filing support tickets.
/dice [number of dice you want to roll] – Random dice roll appears above your character.
- You may roll up to a maximum of 5 dice.
/mu – an accessibility tool to represent character speech
- /mu w – text presents a text box above the character labeled as whisper
- /mu s – say
- /mu t – talk
- /mu sh – shout
- /mu y – yell
/move [value] (between 0.2 to 1.15) – Sets walking speed.
/move clear – resets walking speed back to normal.
/togglechat - Can be used to turn chat off, on, or display when active for those who don’t wish to have this functionality.
/hidemarkers - hides any red circle interact markers such as shop/hotel menus, dropped items, etc.
/posse - Allows you to create a posse and team up with other player's characters on jobs like bounty hunting.
/leaveposse - Allows you to leave posse that you have joined.
SCENES
Scenes are fantastic tools to help paint a picture of a roleplay environment. With that said, it is important to practice proper etiquette of this feature to make sure that those environments are held to excellent standards.
/scene - A circle will appear which moves with your mouse that allows you to place the scene on the nearest surface. Seen below. Once you find the right place to set up your scene, left-clicking with your mouse will bring up the context menu as shown. It will ask for the scene message, the color you wish for it to display as, the distance you'd see it from, and the time it should last. You can also change the viewability of a scene, allowing some scenes placed to only be seen using Eagle Eye. Optionally, you can also place scenes using your [J] menu.
- Proper etiquette of scene usage should be used when placing scenes
- No more than one line of scenes should be placed in a single instance with a view distance greater than 2.0
- Multi-line scenes should be obfuscated with a viewability feature using eagle eye or set to a distance of 1.1
- If you are in need of support with scene placement, open a ticket under #contact-support in the TRP Discord.
- To place a poster:
- Submit artwork in a ticket through #contact-support. There are 3 poster dimensions that can be submitted for Posters: 800×800, 565×800, and 800×565. Upload to imgur and post the link.
- You’ll be provided with confirmation of a desired poster name to use once implemented and ready for use.
/hidescenes - Toggle on and off scenes.
/delscene - Delete scenes and posters.
/scenesbg and /scenesbackground - Adds a text box to the background to scenes for easier visibility.
/scenecolor - changes the color of all scenes to black and white.
Learning The HUD:
The [L] menu allows you to undertake specific character functions, such as character identification, giving money, skill menu, horse bonding and saddlebags, and conveyance storage.
Under this, you can see the [J] Emote Menu you can see the radial dial where you can access other short-time reactionary emote options, walking and movement styles, jigs, and toggling certain clothing items on your character.

Below, we have the status indicators; the heart indicates health, the bolt indicating stamina, the fork indicating hunger, the water droplet indicating thirst, the bolt with a horseshoe indicating horse stamina, the heart with horseshoe indicating horse health, and the microphone indicating microphone volume.

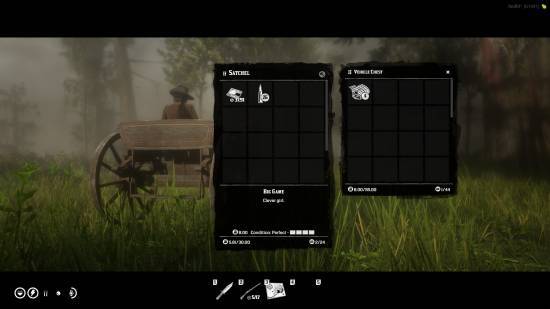
When you open the Inventory, [B], you can right-click items to give an item to another player, use items, or drop items on the ground.
Skills:
Each character has their own strengths and expertise. With the Skills mechanic, you can unlock many opportunites for in-character jobs by gaining proficiency with certain skills. Your skill menu can be accessed through your [L] HUD. Starting out with a new character, you are designated 210 skill points total intended to be allocated into skills that pertain to the kind of character you are seeking to play. Increasing proficiency in a skill is determined by the distribution of those skill points into desired skills. Once the points are locked in, that will set the capacity of XP available to be earned for that skill.
For example:
- Neophyte: 0 XP allocated towards skill
- Apprentice: 5 XP needs to be committed to a skill
- Journeyman: 15 XP
- Expert: 30 XP
- Adept: 50 XP
- Master: 75 XP
To allocate point, open your Skill menu as mentioned above. From that menu, follow the prompt, Allocate Skill Points. This will open the point allocation menu at the center of your screen. Increase the number of skill points you wish to alllocate and lock in by clicking on the lock icon. The icon will turn red once skills are locked in. If a skill doesn't have any points allocated, you will be unable to earn experience related to that particular skill. You are able to reallocate points, however, the XP you’ve earned in a particular skill will decay over time if you don't have skill points allocated, sort of like a hobby that you haven't practiced in some time, eventually, you forget things! The skills available are organized into 3 categories. Passive, Crafting, and Gathering.
Passive skills do not require skill points to be allocated in order for you to gain XP, as they will develop over the course of time that you play your character.
STRENGTH:
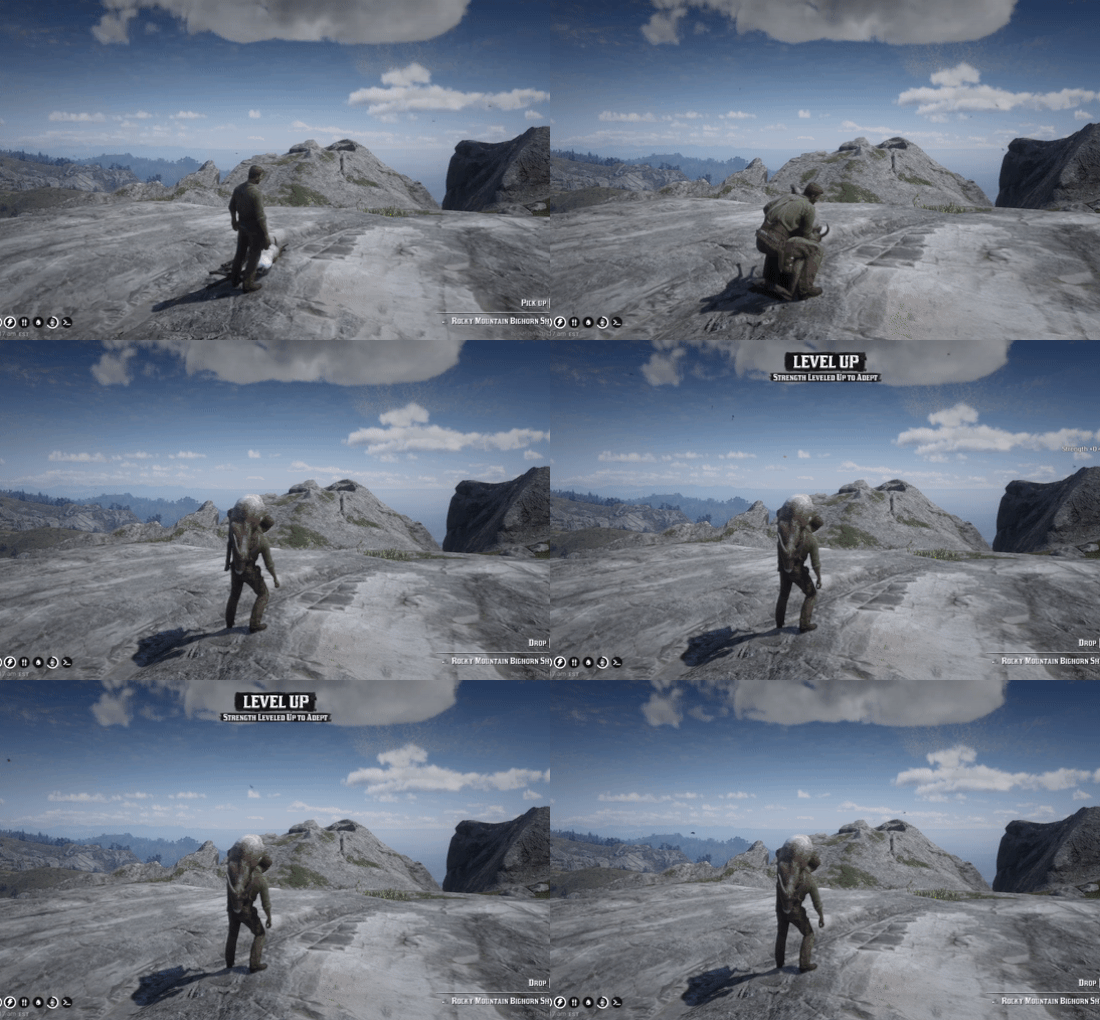
Strength is a passive skill that enhances ambiently as you carry more heavy weights like lifting animal carcasses or doing strenuos activities like mining and lumberjacking. The more you lift and exercise, the stronger you become, allowing you to increase your skill giving you access to more inventory space. Fancy yourself a strongman? Lift those weights!
Crafting skills require you to utilize a crafting menu to create unique items for a skill in order for you to gain XP (ex. cooking special recipes to increase XP in your cooking skill).
ALCHEMY
If your character finds the works of elixirs, remedies, and chemistry appealing, you might consider alchemy as a strong trade to pursue. You will need help from herb gatherers to utilize nature's healing plants.
Gunsmiths will seek you out for your knowledge of gunpowder as they will need it to make bullets. Use your skills to become a pharmacist, snake oil salesman, gunpowder manufacturer, or a provider of love potions!

BLACKSMITHING
Folks of the forge! The time you spend away pounding metals with scorching heat and sweat allows you to craft some wonderous items out of metal. Manipulate and refine precious ores and minerals like gold and silver. In return, earn yourself a pretty penny with your craftmanship.
You and the miners will have a prosperous relationship. Gunsmiths will need your ingots, and fletchers will need arrowheads.
BREWING
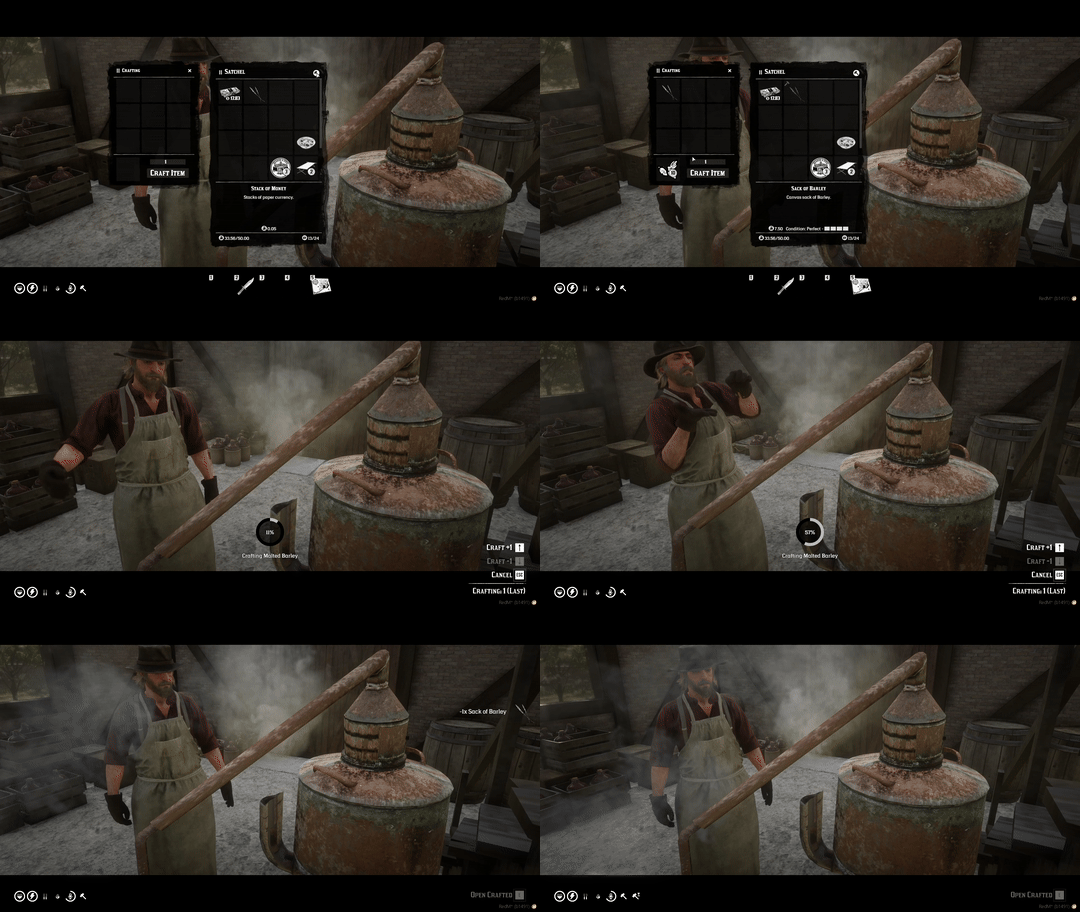
Ale's well that ends well! Your brewing journey will start with you crafting all the necessary ingredients. As you progress you will be able to craft tequila, whiskey, and rum. Bottles of alcohol can either be consumed or poured into shots.
As a brewer, you can make a deal with nearby saloon owner or perhaps make a specialty brand and corner the market! You can craft brewing related items at brewing stations marked on the map.
COOKING
Your food is what makes people’s tummies happy. Whose recipes are you using?! Cook many food recipe for the benefit of yourself and others. You can supply a saloon with delicious food, open up a traveling restaurant, or be your gang's camp cook.
Work with hunters for meat and animal fat, herb gatherers for those delicious spices, and ranches for those eggs, potatoes, and prairie oysters. You can cook the basics at a camp fire of cauldron, but to make the specialty foods, you'll need to find a kitchen.
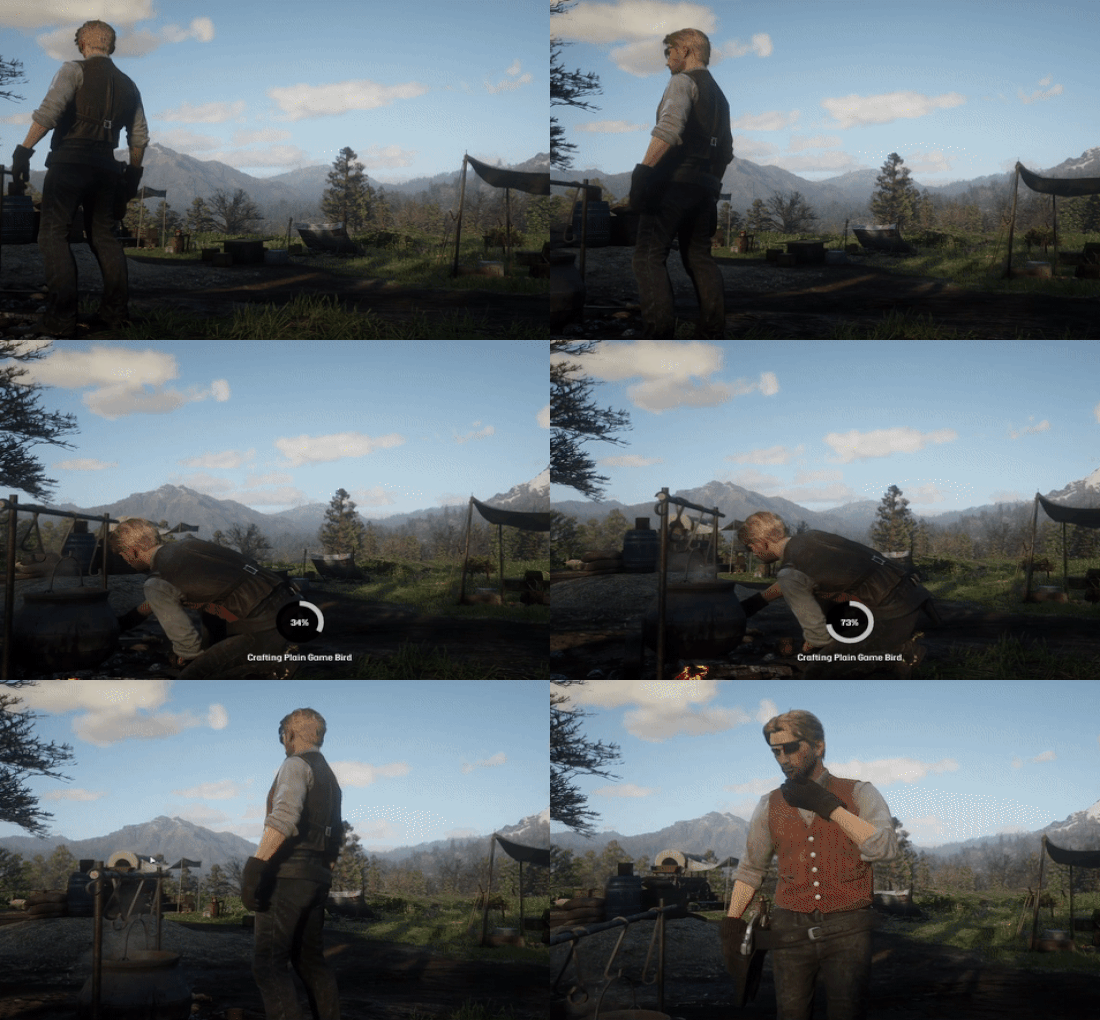
FLETCHING
We see you whittling away over there. With your precision wood-fiddling skill, you can craft some interesting materials with wood like various arrows and bows. Supply a gun store with your crafted wares, and provide your camp with improved bows for easier hunting.
Make your crafts at woodworking tables on the map, and collaborate with lumberjacks and blacksmiths for the wood for arrow shafts and metal for arrow heads.
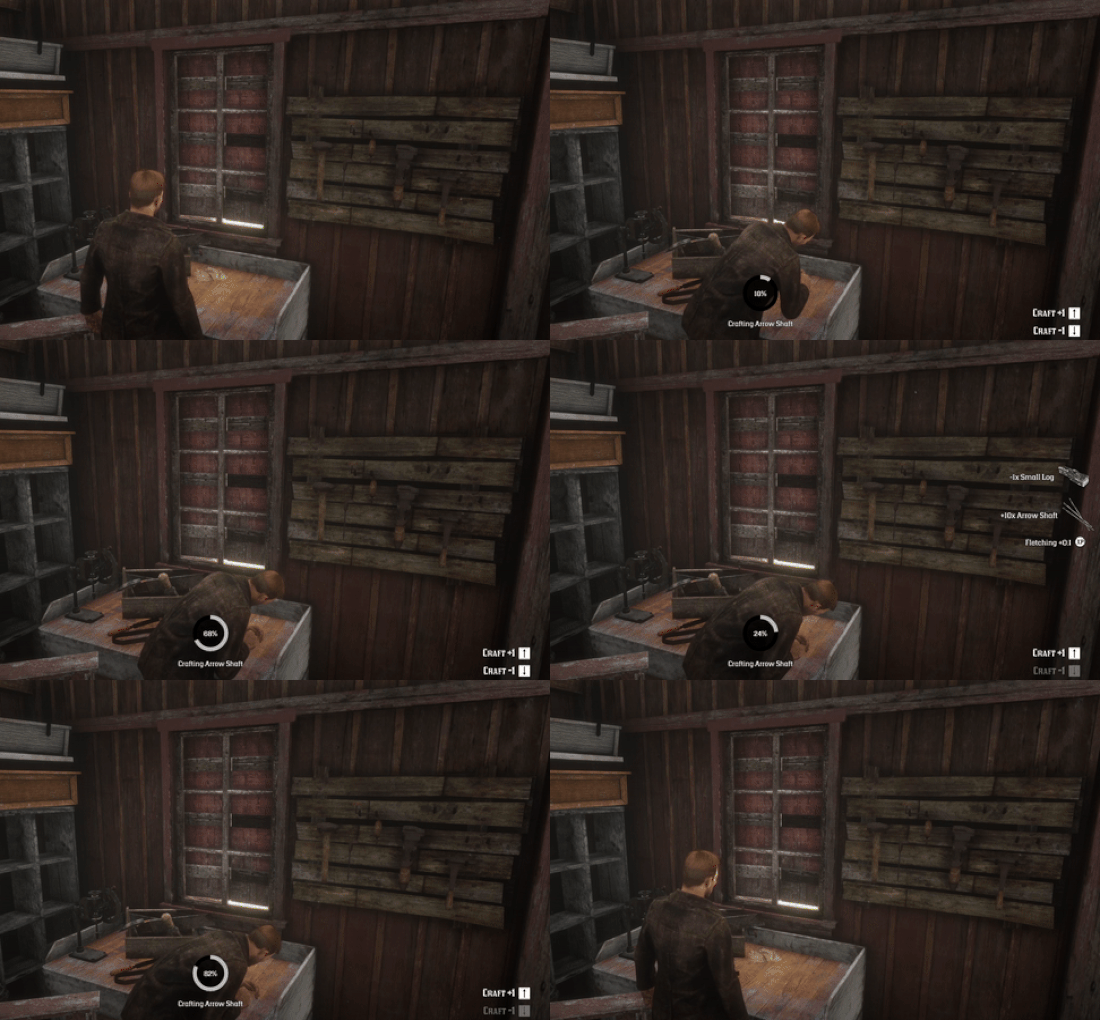
GUNSMITHING
Bullets can be the great equalizer in the frontier. As you progress through your gunsmithing journey, you will be able to craft various bullet types.
Work with miners, blacksmiths, and alchemists to get the tools needed. Perhaps you can partner with a gun store owner and be their supplier or help your gang stay in the fight. You can craft ammo at the various crafting tables at gun stores.
LEATHERWORKING
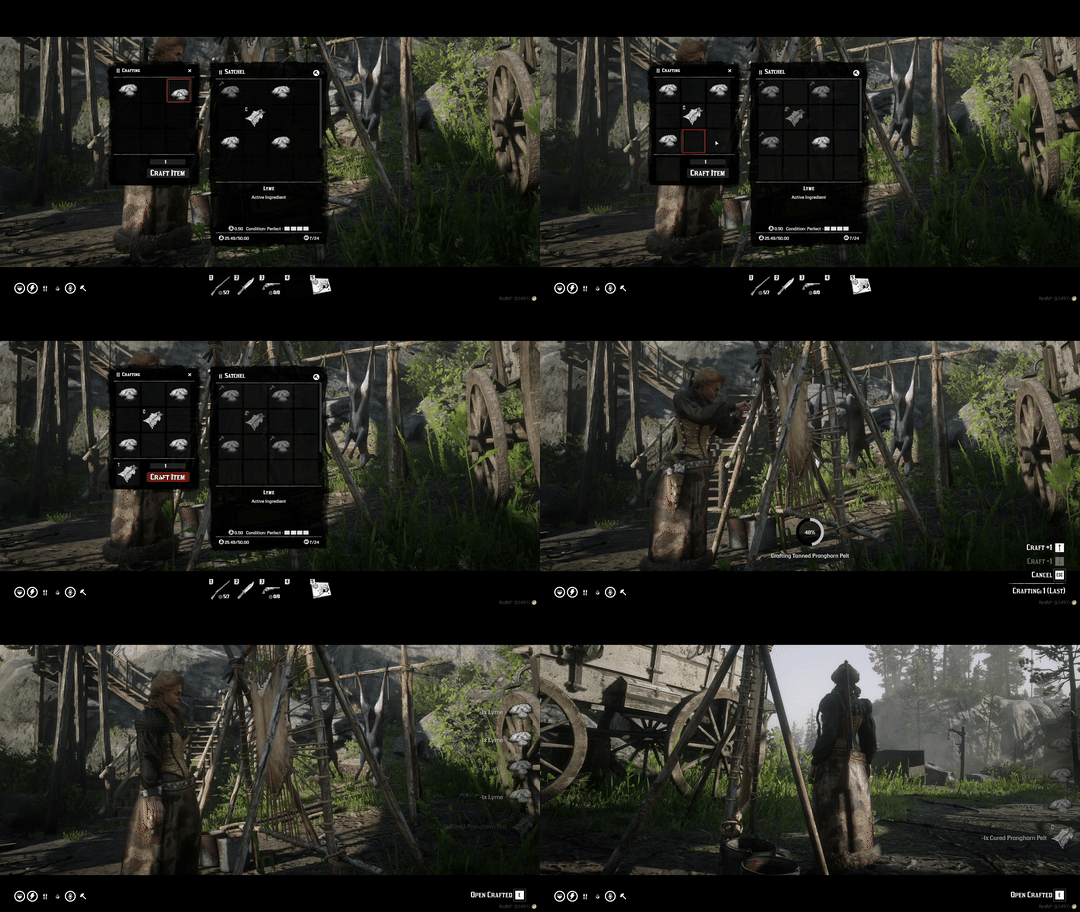
The only thing tougher than leather is a seasoned cowboy, neither of which is vegan I reckon. As you progress through your leatherworking journey, you will be able to tan and cure hides as well as craft leather strips and hide blankets.
Work with hunters to get only the finest pelts! Outfitters will need your skills to craft various items. You could use your skills in an artistic fashion to be a tailor and provide individuals with blankets or taxidermy or work for a cattle ranch and supply leather strips! You can cure and tan pelts near butcher stations marked with specific icons on the map. There are two different crafting stations for both curing and tanning.
OUTFITTING
Who needs a fancy bed when you can sleep under the stars? You will start your journey using the land around you finding kindling, stones, and animal fat to craft torches and campfires. Cooperating with blacksmiths, leatherworkers, and lumberjacks, you will be able to craft bedrolls, various tents, various hitching posts, and more. Outfit your posse so that you can be the nomadic cowboy you were meant to be.
PLACING CRAFTED PROPS:
PROMPTS:
- “PLACE ON GROUND” - snaps the prop to ground level
- “CHANGE MODE” - allows you to change the axis. The first image is how you move it up, down, left, and right. The second image is how you rotate it.
- “PLACE” - places the prop into the world
- “CANCEL PLACEMENT” - Cancels the placement entirely
GENERAL PRACTICE:
- Clicking & holding on the arrows and dragging will move the prop in that direction
- Clicking & holding on the different curved lines will rotate the prop in that direction
TINKERING
Knickknacks and gizmos, the tools you are able to meld and craft will serve a purpose for many tradesfolk out there. Though many may seek your help, you will need some help from fletchers, lumberjacks, and blacksmiths to make these tools. Put on those work gloves, its time to get crafty!
Gathering skills require you to collect and forage resources specific to each skill to earn new discoveries or increased earnings (ex. panning for gold).
HERB HARVESTING
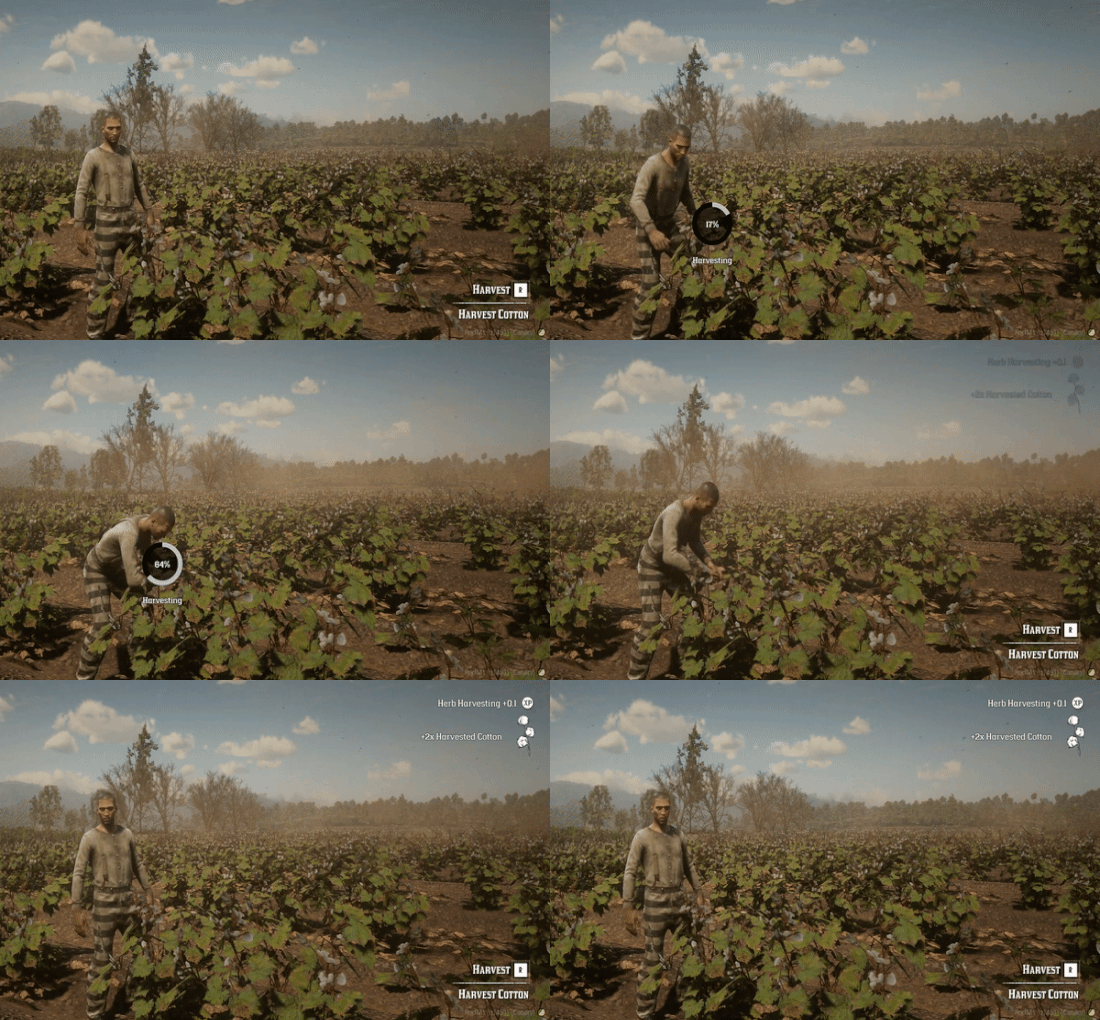
A proficient forager or perhaps just farmer with a green thumb? You can tell which plants to eat, and which plants give you an upset stomach. Use your keen eye to spot and harvest various herbs and plants. As you progress, you will be able to harvest more plants at a time.
You might take an interest in this skill if you are in search of herbs to make your food taste good, or make interesting remedies and medicines. Many alchemists and cooks across the state would love your skills to help spice and flavor things up.
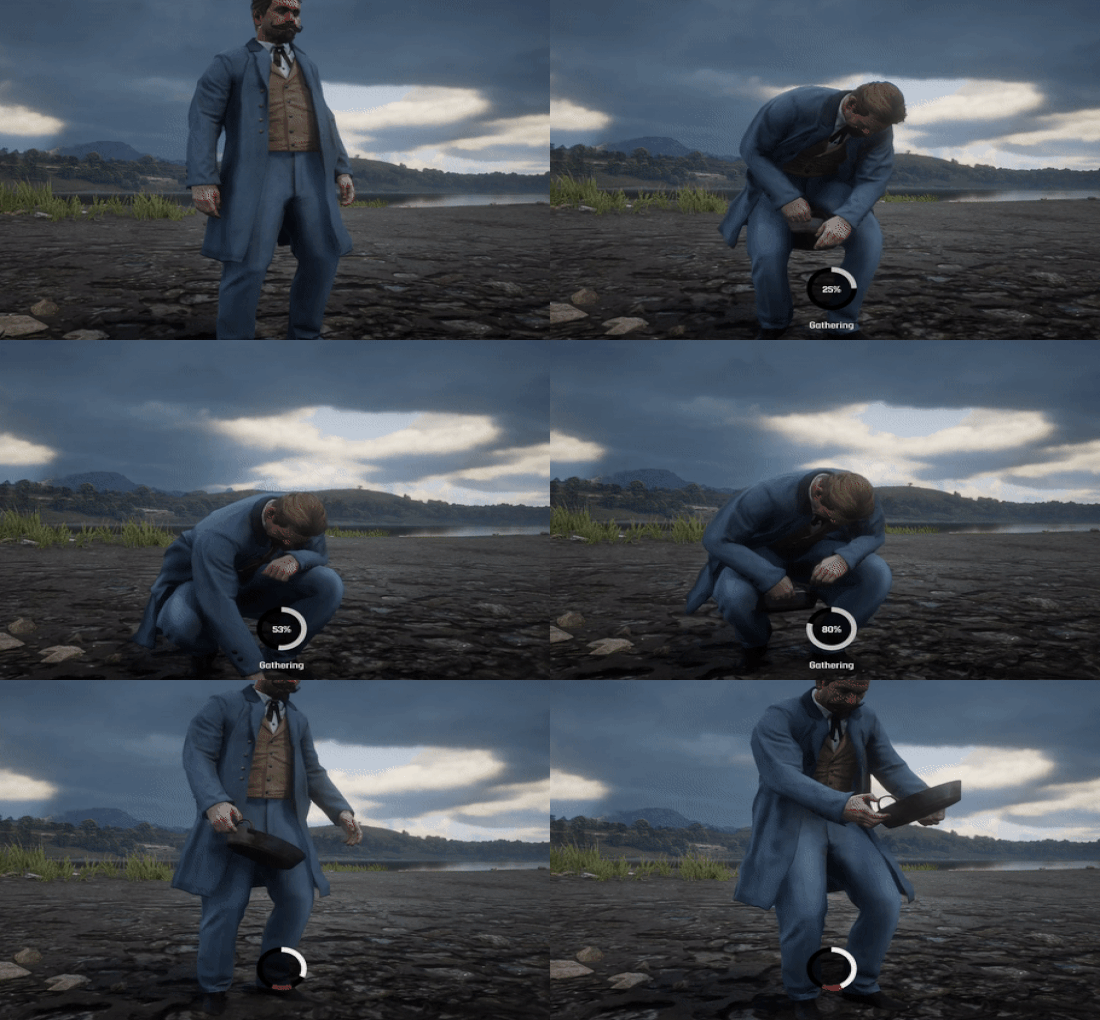
GOLD PANNING
Finding gold can truly change your life! Anyone with the dream of striking it rich can pursue this interest. But remember, it takes tremendous determination to venture into those rivers, endure isolation, and spend countless time sifting through sediment to chase your dreams. Consider teaming up with a friend, but be wary: they might stab you in the back if they find precious metal in your pocket!
Work closely with blacksmiths to smelt gold into ingots. Perhaps you can be the gold tycoon of the West!
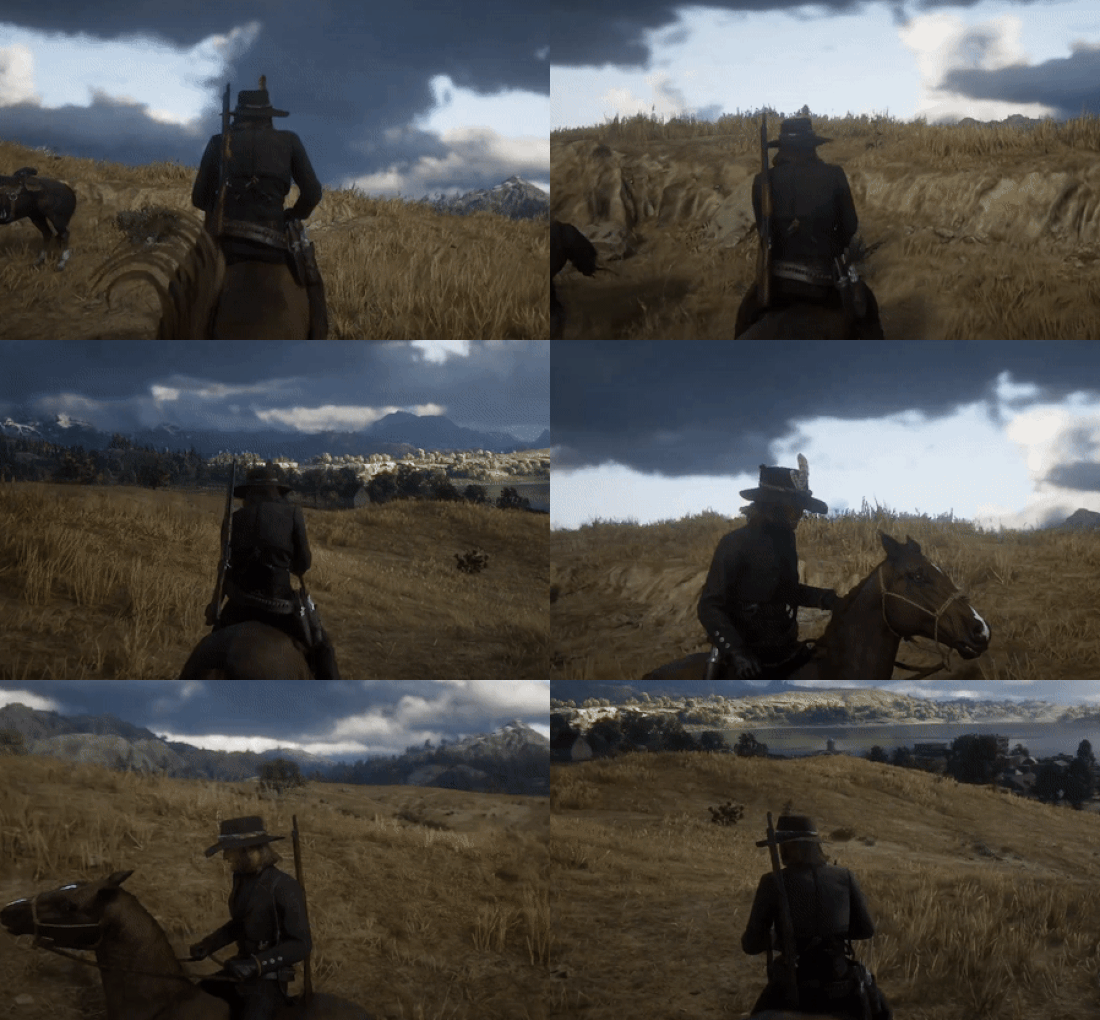
HORSE TAMING
Concussions are your friend, but breaking a good horse can get you a pretty penny in your pocket or a good companion in the future of your story. Do you think you have what it takes to wrangle some horses? Show us what you got Big Shot!
Collaborate with ranches and town stables, catch some livestock auctions. All that work to break a horse might come in handy with a big sell.
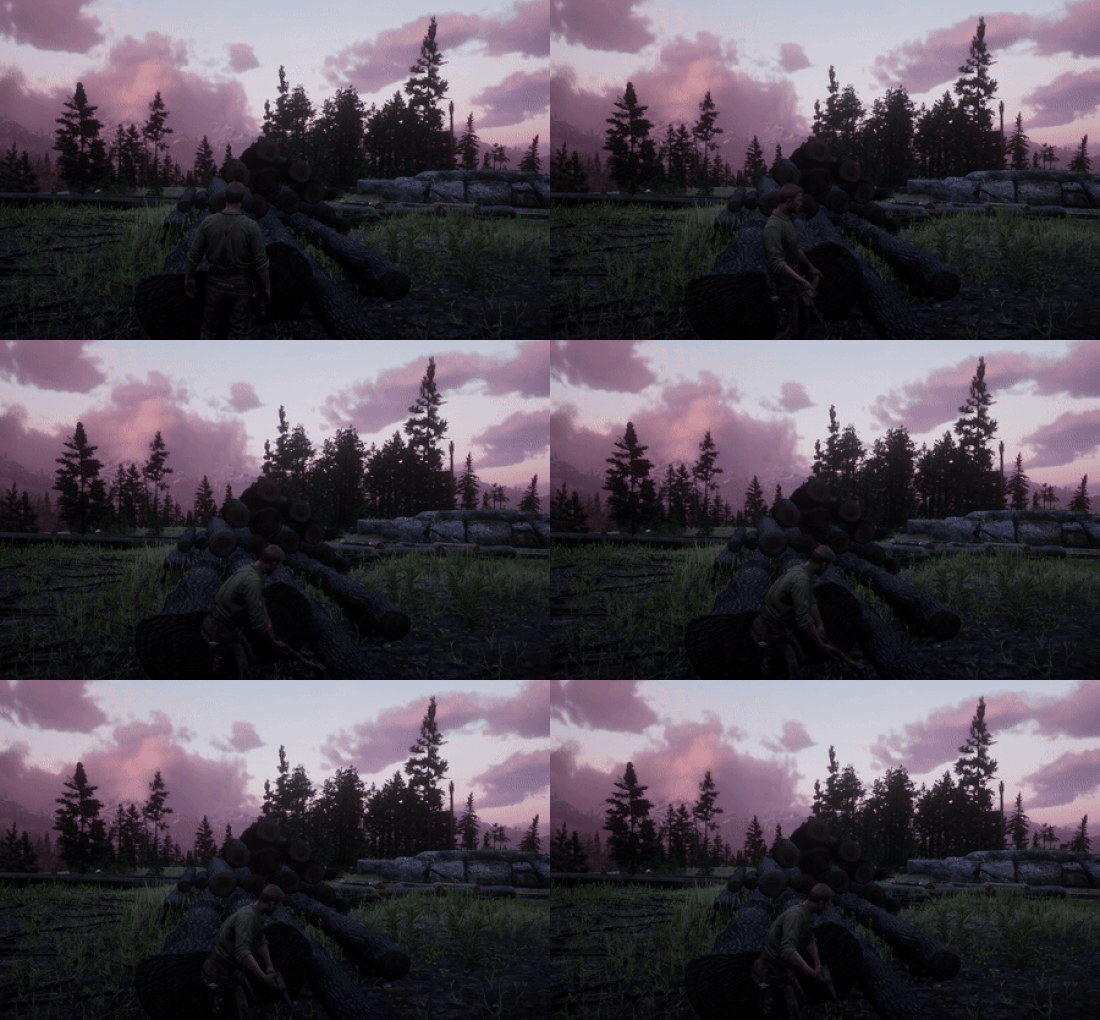
LUMBERJACKING
Throw on that flannel, roll up those sleeves, its time to chop wood! If the smell of cedar and tree wax entices you, or even just determined to cut down the tall giants of the world (we’re talking trees!), the trade of lumber might be appealing work for yourself. Grab yourself an axe and make your way to some lumber camps.
Work with fletchers, outfitters, or carpenters of the states and fetch yourself a consistent pay day!
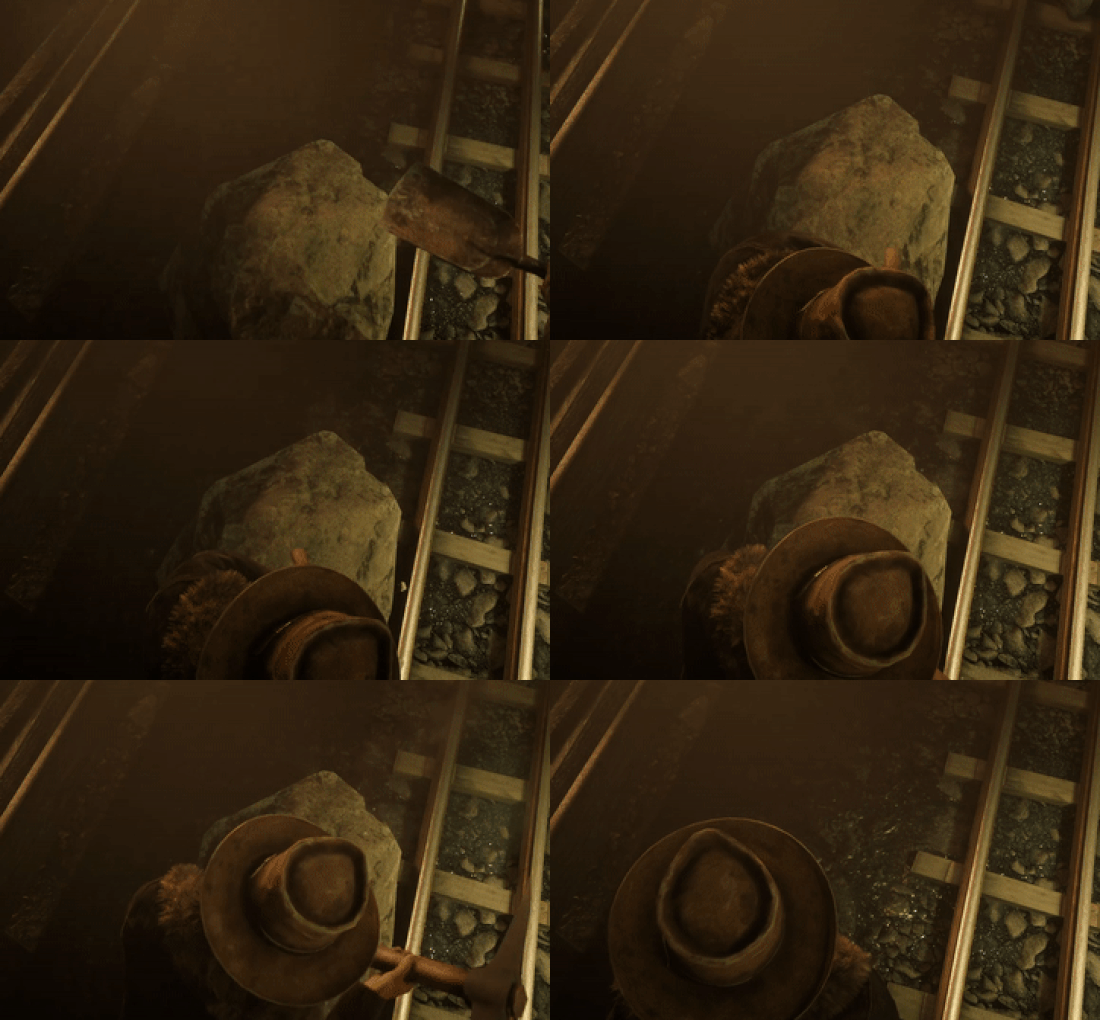
MINING
Pull up that bandana, and get the dynamite ready, you don't want to catch that black lung on the job. Or chronic back pain in your mid-twenties. Actually, lets be honest you probably already have that. Keep hitting them rocks and reveal the treasures that hide deep in the mines.
Your work will be valued by gunsmiths and blacksmiths who will need those precious ores you find. Was that a bat or a ghost I just heard?
FIELD DRESSING
Shhh, be very quite, we're hunting… well probably more than rabbits. If hunting out in the frontier speaks to you but you want to yeild the best cuts of meat from your game, consider gaining proficiency in field dressing.
Leatherworkers and cooks would love to work with you. Wait what's that smell… are those scent glands? Yeah, keep those away from us.
Looking to indulge in Crime Skills? Pstt… I know a fellah who might be able to answer your questions in our Criminal Resource guide.
Getting Your First Job:
You can pick from a number of activities to engage in to make your way out on the frontier. Have a look below for some of our options!
HUNT
Are you an expert marksman? You can hunt game and sell it to a butcher or a cook in need to make your living.
 Overview:
- Skin your kills and sell the meat at a butcher (marked on map).
- How you hunt your game is important to gathering meat and items, use sense in your hunts for better returns
- Use meats in cooking recipes.
- Allocate skill points into your Field Dressing skill for increased returns.
- Please note that the butcher only allows you to sell them cuts of meat. Selling pelts will be an option in a future patch.
Equipment:
- Hunting Knife
- Firearm and Ammo (Varmint Rifle for small game) or Bow and Arrows
FISH
It takes skill, patience, and deep knowledge to catch the big one. An experienced guide could earn a lucrative living.
 Overview:
- Grab a pole and bait at the bait and tackle shop (marked on map), then head to your favorite fishin’ hole.
- Note that the type/quality of your bait will affect the size/difficulty of your catch.
- Once you get a bite, aim your rod toward the hooked fish until it stops splashing.
- Make sure that the fish is calm before you try to reel it in.
- Flawless technique is vital! Hire an expert if you need a lesson.
- Sell your catch back to the bait and tackle shop or utilize your cooking skill to craft a meal.
Equipment:
- Fishing Rod
- Bait or lure
Controls:
Equip Rod: Drag rod into your hotbar from your inventory. Whatever position on the hotbar you placed the rod [1-5], select that number to equip the rod in your hands.
Equip Bait: While the rod is equipped and in hand, hit [B], right-click the bait in inventory and select “use”. An animation will show your character knotting the bait to your rod.
Casting: Right-click to ready the rod, and left-click to cast.
COOK
Trails can get boring if you are eating the same old stew. Someone might even kill you over it! Jazz up your recipes through cooking!
Overview:
- Gather ingredients to craft meals to eat or sell.
- Allocate skill points into your cooking skill to unlock additional recipes.
- Private Cooking Stations are available in kitchens at purchasable properties/businesses.
- Public Cooking Stations are marked on the map with a campfire icon.
- See Cooking Stations for recipes.
GOLD PAN
There’s gold in them rivers and streams!
Overview:
- Purchase a gold-panning pan from General Stores.
- Use it while standing in water.
- Blacksmiths can use the gold you gather to craft ingots and bars.
- Allocate skill points into your Goldpanning skill for increased returns.
Equipment:
- Gold Pan
MINE
It’s backbreaking labor but there’s a good honest living to be made in the mines.
Overview:
- Purchase a pickaxe and buy/sell ore/ingot at Miner’s Tools outside Annesburg.
- Mines are marked on the map.
- Novice miners can gather Iron in the mines.
- Allocate skill points into your mining skill to unlock additional ores available to gather.
Equipment:
- Pickaxe
BLACKSMITH
Overview:
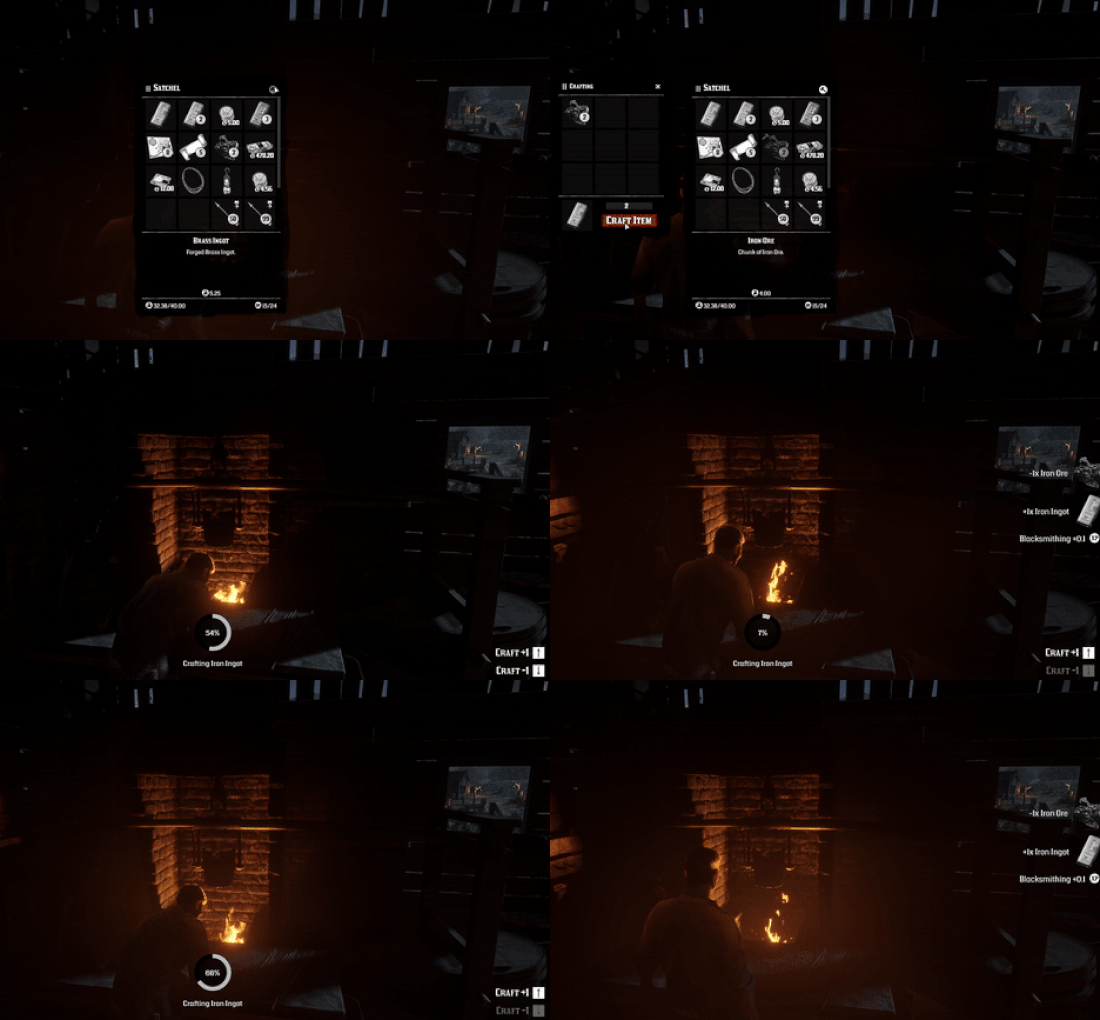
- Novice blacksmiths can craft iron ingots from iron ore.
- Allocate skill points into Blacksmithing to unlock additional recipes like metal ingots and bars; brass casings, shotgun slugs, and buckshot.
- Metal bars and ingots can be sold at Miner’s Tools and used in crafting.
- See forge for recipes.
- Forges can be found outside most stables.
BOUNTY HUNT
If you’re not afraid to get your hands dirty, you can hunt down bounties placed by your fellow frontiers-folk and local law enforcement.
Overview:
- Bounties are chosen at bulletin boards outside Sheriff’s Stations as marked on the map.
- You can choose between “Player Bounty Board” (players) or “Mission Bounty Board” (NPCs)
- If you are attacked and rendered unconscious by another civilian, you can place a bounty on your attacker by visiting a bounty board.
- If you have a bounty on your head, you cannot access the bounty board.
- Bounties should be claimed either to the Sheriff directly, or to the bounty board in the jurisdiction from which you took the bounty.
- Read more in-depth about bounty hunting, the justice system, and federal laws in Federal Law Enforcement.
TAXI DRIVING
The frontier don’t have the most reliable transportation for those who don't know how to ride a horse. Put on your hospitality boots and give some folks rides around the state for some quick money.
- Sign up for taxi driving jobs at your nearest telegram station.
- Invest in a coach for your customers to ride in.
- Ride around from town to town until your services are flagged down.
- Pick up your customer at the required location, whistle at them, to get their attention.
- Once your customer is in your coach, sitting comfortably, ride to their desired location. (trail songs are optional).
- Drop them off at their desired spot and get some cash in your pockets!
- Any coach conveyance.
DELIVERY DRIVER
Many businesses require stock of inventory. Assist the market by ensuring goods are delivered from point A to point B.
Overview:
- Sign up for delivery driving jobs at your nearest telegram station.
- Explore job postings at the telegram office for desired delivery jobs.
- Postings will include what is required for the delivery job, where the order is to be picked up, and where the order is to be delivered to.
- Once you accept a job, get prepared. Grab yourself a wagon, a horse or whatever is required for the job.
- On your map, find where pickup is needed.
- Once you arrive at the destination, the store clerk will load up the order for your convenience.
- When loaded up, on your map you can find where to deliver the goods.
- Enjoy the time out on the frontier and be wary of bandits!
- Once you arrive at the delivery location, the clerk will unload the goods for you and pay you for your services. Hooray!
Equipment:
- Varies on job posting, pay attention to what is required for the job, whether it be a horse or wagon.
Crafting:
There are two kinds of crafting available: Skill-based crafting and Passive crafting.
Skill-based crafting requires you to be near a proper crafting workspace. This could either be a forge, a cooking fire, or a workplace that makes sense to what kind of crafting you are attempting. You can observe when you are in these workplaces by the appearance of the hammer icon next to the core UI on the bottom left of your screen. The bonus to this kind of crafting is that items crafted through these workspaces earn XP for crafting skills which you have points allocated for.
Passive crafting is available to players at any place during any time, as long as you have the resources available to craft certain items. No XP will be earned from this kind of crafting, as they are unrelated to skill.
The crafting menu looks the same for both versions of crafting. You can navigate this menu by opening up your inventory, [B], and selecting the hammer icon on the upper right-hand side of the interface. When crafting, the order of which resources are placed in the menu is important. Recipes for craftable items should be discovered through RP. Here is an example of the many available crafting recipes out there!
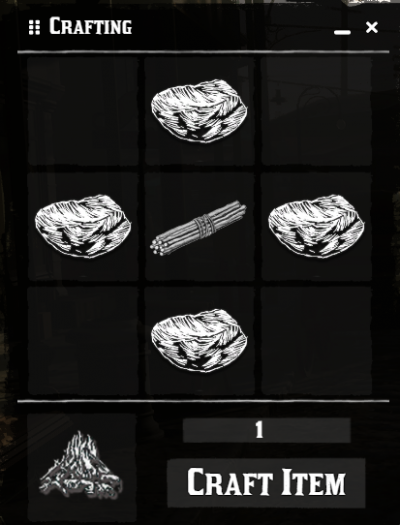
Additionally, some recipes utilize long form crafting. Long form crafting recipes include both the recipe utilization, as well as a “cooking time” wher the crafting station you are performing the action on is occupied while your recipes cook and you are free to roam as you wish and work on other crafts. This is indicated in the HUD bar on the bottom left when at a crafting station. An icon with an hourglass will be present until the end of the cook time.
HINT: YOU MIGHT FANCY DOING SOME READING TO LEARN MORE RECIPES
Telegram:
Telegrams are a vital source of communication to exchange between other player's characters. Each character created has a unique Postal Office code that can be utilzed and shared with others, to build a contact with another player. You can find your own telegram number by accessing you [L] menu under the Identity tab.
- To send a new telegram, select a recipient from your Mail Directory, or add a new listing. Then select Send Telegram
- You are able to send messages no longer than 250 characters. This could be anything from business outreach, friendly banter, or scandalously secret love letters.
- To add a new listing, be sure you have the recipient’s PO box (found on their ID).
- Open the Post Office Menu at the mail clerk.
- Select Mail Directory > Add
- Type in the format PO ##### (use recipient’s PO number).
- To read incoming telegrams select Post Office > Telegrams
- Telegram body displays at the bottom of the Telegrams Menu
- Replies can be sent directly to sender by pressing [Enter]
- Newly received telegrams take approximately 2 minutes to be translated, sit back, relax, or wait impatiently with anticipation
Banking:
You can store money and items in your lock box at any bank. Each bank's contents are independent to that bank. You must pay a one-time fee of $5 upon opening a lock box with any new bank.
You can also exchange currency types (coins, clips, stacks), and transfer funds to other players at the bank. Coins can only stack $5, clips $100, and stacks $1000.
To exchange money at the bank:
- Open Banking prompt at any bank
- Navigate to exchange
- Pick from the drop-down the currency type you want to exchange to
To transfer money:
- Open Banking prompt at any bank
- Navigate to transfer
- You will need the player's Passport # (this accessible via L menu > identity)
- Enter the amount you wish to transfer. Note: you will need to have the amount on your person
- Once it goes through, that player will then be able to claim the money you sent at any bank.
Transportation:
HORSES
Horses are great friends out on the frontier (or they can be your bane on the plains). Taking good care of your horse is a must if you plan to travel the long roads on your lonesome. Ambiently, you and your horse will bond over time the more you ride them, but not by much. If you wish to increase bonding with your horse, read more under Horse Management.
 Your horse will only come to you if you whistle while in range of it. If you want a different horse, put your current horse up in a stable and bring out a different horse while there! Additionally, if you do not put your horse in a stable, it will remain out, even after you log off. Losing your horse does come with a price however, if you send the stable assistants out on a search party.
TRAIN
There are three train systems that traverse the map: Eastern, Central Union, and Southwestern. Eastern system starts in Saint Denis and traverses Rhodes, Valentine, Heartland Oil Fields and Emerald Ranch. Central Union is the longest system, starting in Saint Denis and traversing Van Horn, Annesburg, Bacchus Station, Wallace Station, Riggs Station, Flatneck Station, and Rhodes. Southwestern system is catered to the New Austin portion of the states. The system starts off in Armadillo and traverses to Mercer Station, Benedict Point, and MacFarlane’s Ranch.
Train stations are marked as big circles on the train tracks on the map as shown below.
You can press [E] to board the train and to find a seat. Press [F] to get out of your seat.
You can also hop on the train by foot jumping on and from your mount if you prefer the dramatics.
Trains are spawned on the tracks whenever needed by staff.
TROLLY
You can hop on the St. Denis trolley and give your feet a rest while you travel through the city.
Press [E] when near the Trolley to board it. You can find a seat and press [E] to sit down. Press [F] to leave your seat. Trolleys aren’t always in service in the city, but when they are, they certainly are a treat!
Trolleys are spawned on the tracks whenever needed by staff.
CONVEYANCE
A variety of carriages and wagons are available for purchase and rental at many stables across the map. These are indicated with a wagon wheel icon. Small boats are also available at launches marked with canoe icons.
Storage can be accessed via the [B] menu once your boat or carriage is taken out of storage and seated in conveyance. Not all conveyance storage is created equal, and are relative to the size and type of wagon you choose.
Note that not all types of carriages/boats are available at all locations currently. Please don't attempt to take conveyances out of storage where they are not meant to be spawed. Boats dont belong on land.
Horse Management:
HORSE CARE
You can purchase various items at the general store to help keep your horse happy, healthy, and stunning. You can access the items and use them from your satchel (pressing B on your keyboard). Additionally, while focusing on your horse by holding your right mouse button, you can feed with [R], or brush your horse with [B].
- Horse brush – Use this to brush your horse and remove dirt, mud, blood, etc.
- Hay – Increases bonding
- Sugar Cube – Increases bonding
- Peppermint – Increases bonding
- Horse Cream – Increases bonding
- Horse Injection – Revives horses stamina and health, Lowers bonding
- Seasoned characters with alchemy skill can provide other means of care items like ointment, stimulant, and medicine
When you restable your horse, the condition in which it was placed will remain the same. You can use horse injections to revitalize your horse's status conditions.
STABLES
Purchase and sell back horses, buy horse tack, and customize your horse’s appearance.
- Buy, sell and trade (owned) horses (can only sell back horse to the stable it was purchased)
- Anything that would be in your saddlebags when you trade an animal, also goes with the animal. Be sure to clear those bags before trading if you carry important items with you.
- Purchase saddles, saddlebags, stirrups, saddle horns, blankets, bedrolls, and other horse accessories.
- Edit Horse grooming options like manes and tails.
HORSE BONDING
Certain tasks done with your horse will increase your bonding and progress the horse’s overall acceleration, speed, stamina, and health. It will also increase the radius in which the horse will come to you when you whistle for it. Currently, the following actions increase horse bonding:
- Brushing
- Feeding peppermint, hay, and sugar cube
- Applying horse cream
Additionally the more you ride your horse, ambiently, your horse bonding will also increase.
Allowlisted Jobs:
Many jobs require you to submit an in-character application.
We have a vast judicial system (As vast as you can get for the frontier) in which you can get the role of an assistant attorney general to a full-fledged Marshal, there are many layers and jobs available in this field. Sheriffs are elected by the constituency of the location they decide to run in. Every character must select which jurisdiction they wish to register to vote at any telegram office. You can find more information on how to register for Sheriff elections by watching announcement channels, each position rotates every 2 months. For more information, follow the link below.
Player-Owned Businesses:
There are many properties available for businesses. Available properties will be marked available on the Group Group discord in the #support channel using the command !available. Once a property is owned, you have the ability to give and use keys to the premises. Keep in mind the rarity it is to own property during these times. If it doesn't make sense for your character to own property, consider hotel rooms, as they were very popular forms of housing during the time period. Some properties are equipped with private cooking areas, storage, and wardrobes. Facilities provided by all hotel rooms are a chest for storage and a wardrobe for storing clothing.
If your character looks to run a business whether it be the best Saloon in the west, the biggest ranch around or aspiring a quaint and quiet life of running a general store, feel free to request a business application, describing the sort of business you wish to run, as well as the roleplay it can provide for others. More information on business ownership can be found following the link below.
Illegal Activities:
There are many illegal activities to take part in such as pickpocketting, robbery, PVP conflict, and any creative endeavors you wish to dip your toes in. We won't ruin too much for you, get on the server and connect with the right people and dive straight into the criminal life on the Frontier. More information on criminal code can be found following the link below.


